This will provide you the simple and fastest way to get started with the Code First Approach using Entity Framework 5.
For the purpose of this demo, I am going to use WPF application and MVVM (light toolkit). But this can be done with other types of projects too.
Conceptually Code First approach is to create Models / POCO classes according to your need and generate a database out of those entities. This seems to be very handy where you don’t require to know anything about SQL and create models (Code first) which is what a programmer do his whole life.
Three things you work on:
1. Design your tables in form of entities / POCO classes.
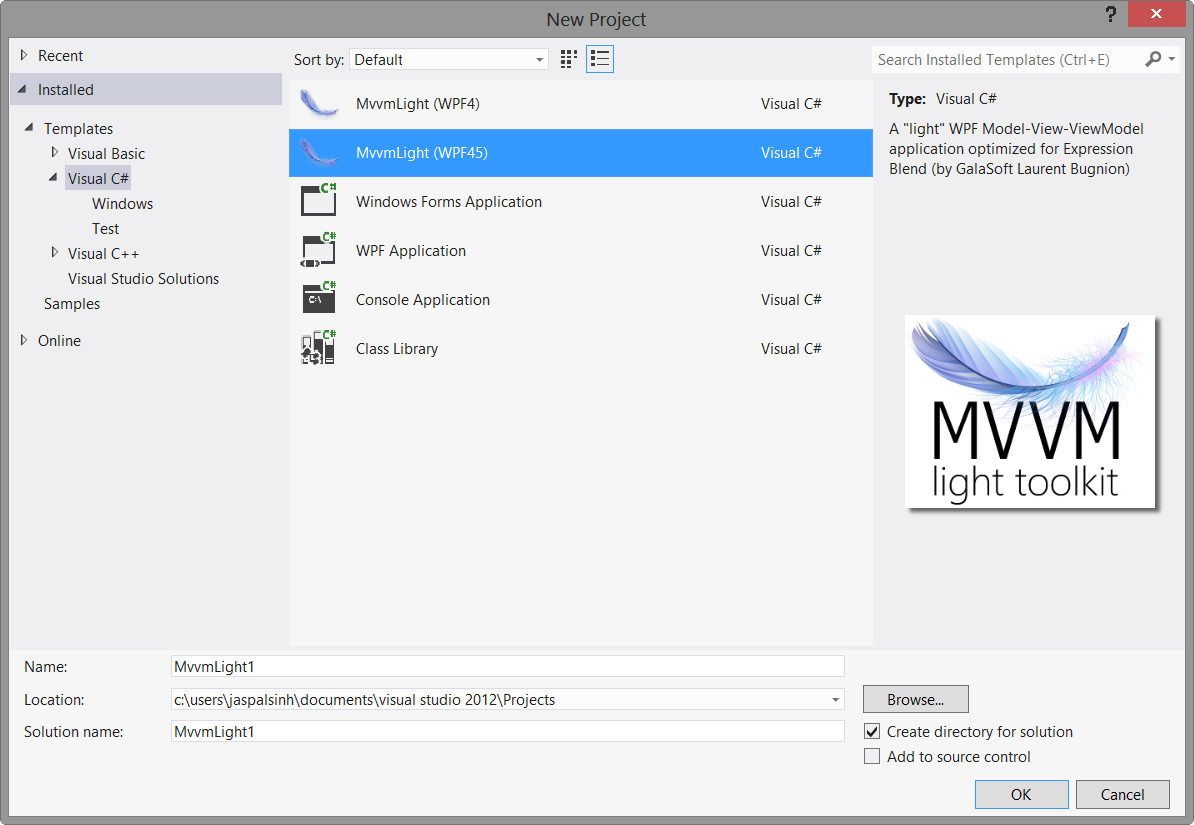
Create a new project in Visual C# > Windows > MVVMLight (WPF45) or WPF Application > CodeFirstExample
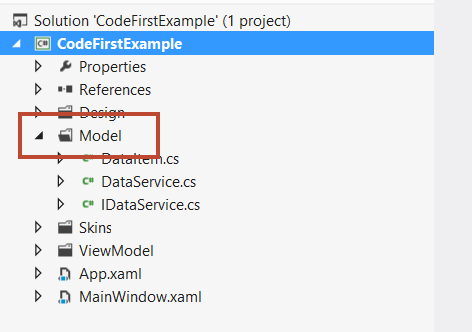
Under the “Model” folder create the entity / POCO class you wish to create table for, mine would be Employee class.
namespace CodeFirstExample.Model
{
    public class Employee
    {
      public int EmployeeId { get; set; }
      public string EmployeeFirstName { get; set; }
      public string EmployeeLastName { get; set; }
    }
}
One cool thing here is that if you name any one of the property ending in Id entity framework will understand that it will be the primary key of table generated from this class. In our case EmployeeId will automatically become the primary key of the table.
Or you can use [Key] attribute over the property to exclusively define the primary key of the table. Attribute available under System.ComponentModel.DataAnnotations.
2. Implement the DbContext and add the entity to the context class.
To implement DbContext you need add reference to EntityFramework 5, which can be done either manually or you can use NuGet to do so.
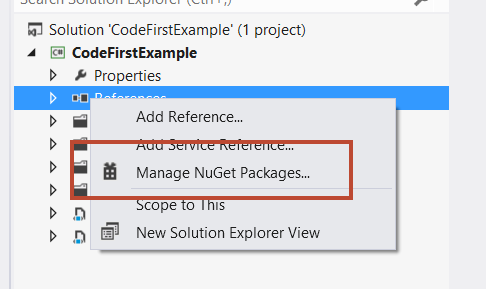
Right Click on Reference > Manage NuGet Packages > Click Online Tab > Search For “Entity Framework” and you will the EntityFramework 5 in the search result. Install it by accepting the license terms.
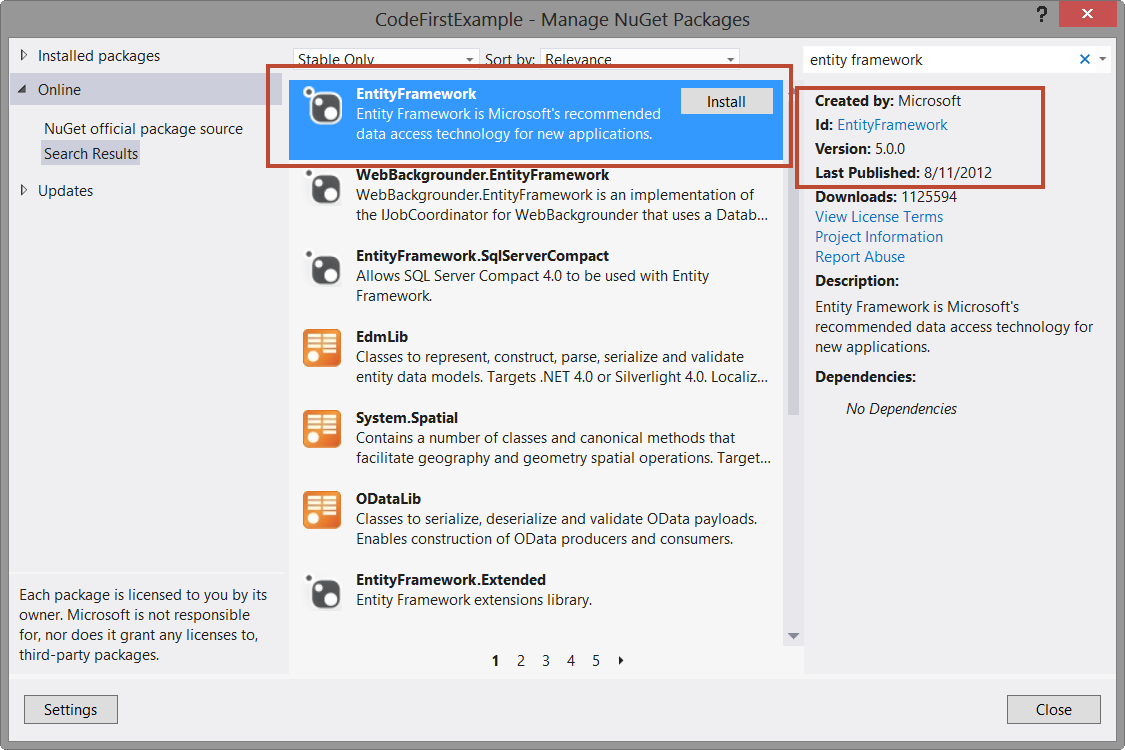
Once you have added reference you will be able to see “EntityFramework” dll in the list.
Now we add a new class named CodeFirstContext which will implement the DbContext. Then add a property DbSet of type Employee.
using System.Data.Entity;

namespace CodeFirstExample.Model
{
    public class CodeFirstContext : DbContext
    {
    	public DbSet<Employee> Employees { get; set; }
    }
}
3. Add a connection string that gives the details of what database server or runtime to use for creating the database for you.
Now in the App.Config add a new connection string that will contain the details of the database server and the name of the database. For the demo purpose I am using SQL CE 4.0 database.
<add name="CodeFirstContext" providerName="System.Data.SqlServerCe.4.0" connectionString="Data Source=C:\CodeFirstDb.sdf;">
If you keep the name of the connection string same as the name of the context then DbContext will find it automatically and use those details for creating the database tables. You can also pass the name of the connection exclusively in the base constructor call of DbContext.
Demo Code - You can use it like below:
using (var codeFirstContext = new CodeFirstContext())
{
    codeFirstContext.Employees
    .Add(new Employee
    {
      EmployeeId = 1,
      EmployeeFirstName = "Jake",
      EmployeeLastName = "Blake"
    });

    codeFirstContext.Employees
    .Add(new Employee
    {
      EmployeeId = 2,
      EmployeeFirstName = "Simond",
      EmployeeLastName = "Salmon"
    });

    codeFirstContext.Employees
    .Add(new Employee
    {
      EmployeeId = 3,
      EmployeeFirstName = "Richard",
      EmployeeLastName = "Kelly"
    });

    codeFirstContext.SaveChanges();
}
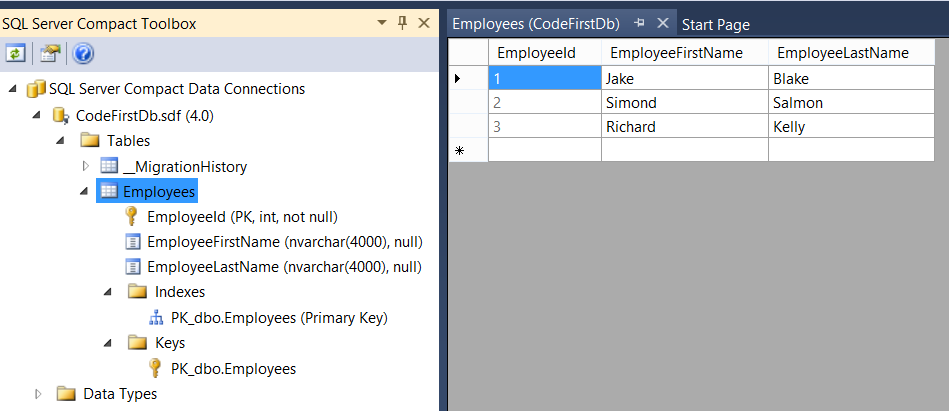
You can use SQL Server Compact Toolbox to verify if the table was created.
