Most of you do a lot of things the whole day and most of time you tend to share on how you do it with people around you. In simple words its called sharing. Sharing and socializing is the basic need of Web world, whether it be work, profession, entertainment or education. When you need answers you either cry on your Grand mother’s lap or you Google it or Bing it (long back it was pronounced as “search it”).
Every second, there would be millions of human beings who would try to take their first step towards sharing or writing something that add to the search query. When I started a while back, I choose WordPress to be my accomplice on this mission. When you write on most of the blogs you deal with blog post editor, which are infact good if we see the capabilities they provide on the browser. But none of them give me the satisfaction and power which i needed. So the success to write a efficient blog post is to use the right tools that fit your needs, Windows Live Writer is one for me. It is provided by Windows Live as part of “Windows Essentials” programs. It can be downloaded from Windows Live
It works with most of the popular blog service providers like WordPress, Blogger, Typepad etc.
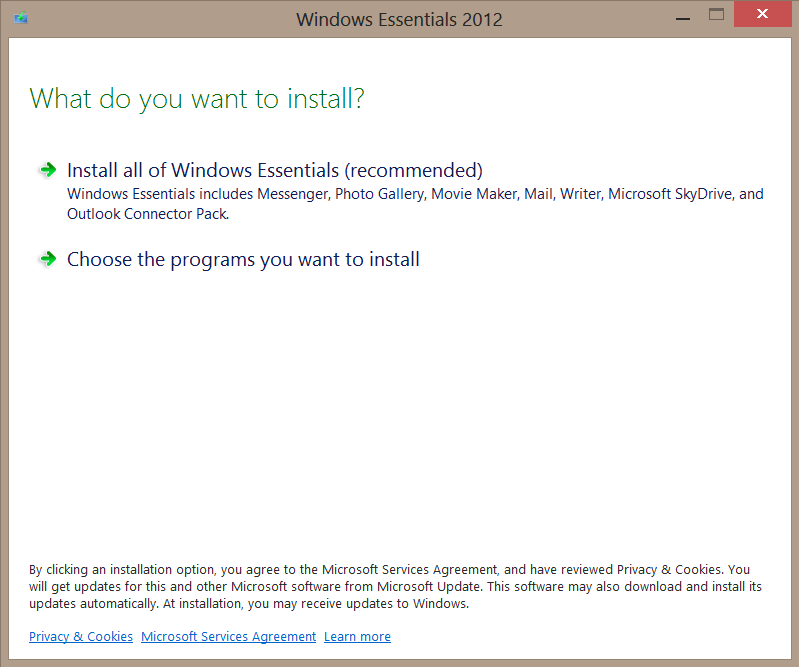
Click > Choose the program you want to install
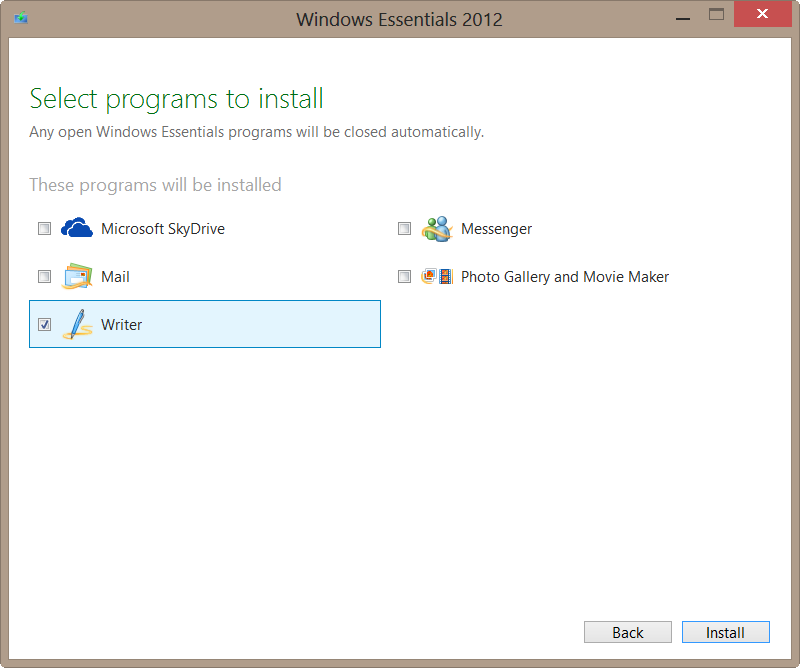
Check the program you wish to install (specially writer) and click Install
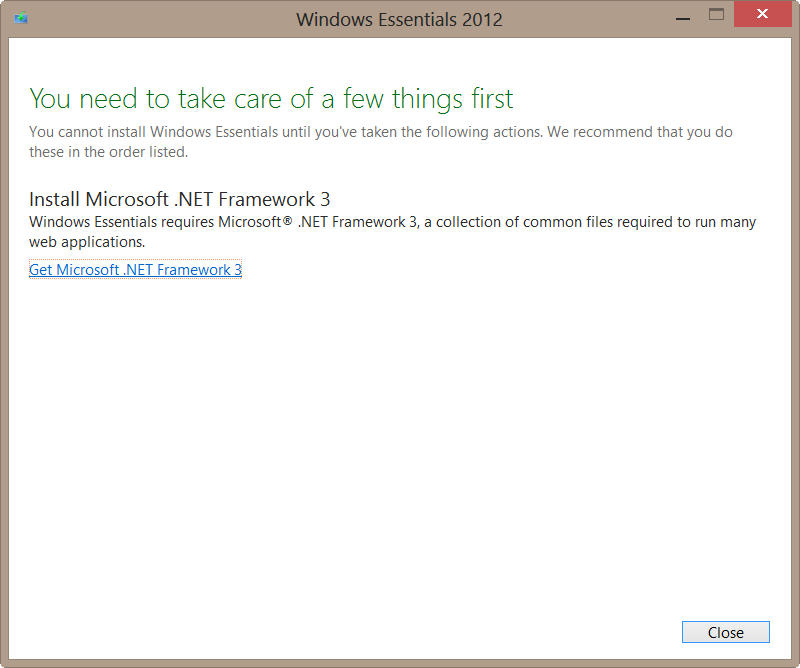
You may be asked to install Microsoft .NET Framework 3 if you have not install it already. Click on the “Get Microsoft .NET Framework 3” link and install it. Click close and restart the installation again once you are done with the framework installation.
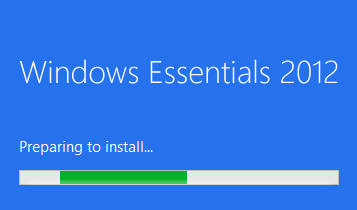
Then you wait for the installer to complete downloading the files required and install the programs you choose to install.
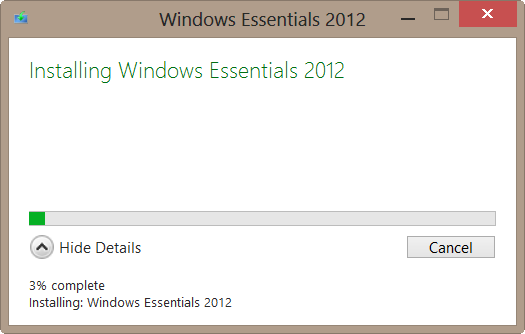
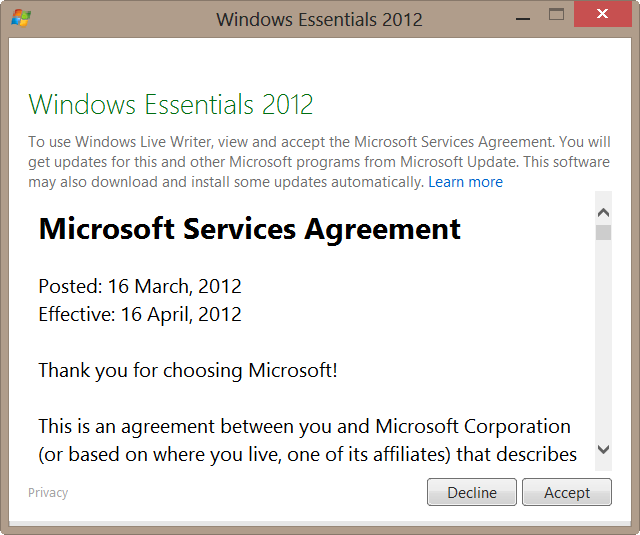
Once the installation is complete, find Windows Live Writer in your program list and start it. As the first run you will be ask to accept the Microsoft Service Agreement –> Read it if you wish and Click Accept.
Then it will start the Windows Live Writer 2012
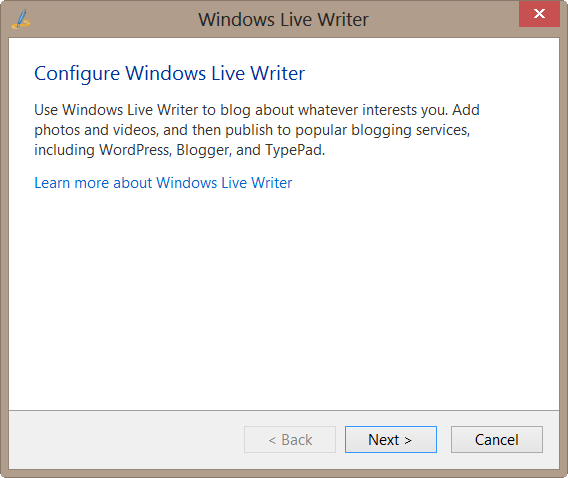
As it is newly installed it will ask for you to configure it with blogging service you wish to use. Click Next.
Choose the blog service you want to use and click next. I choose Wordpress from the list.
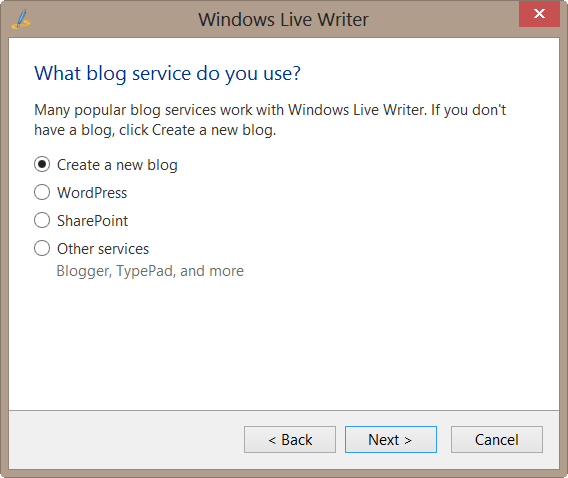
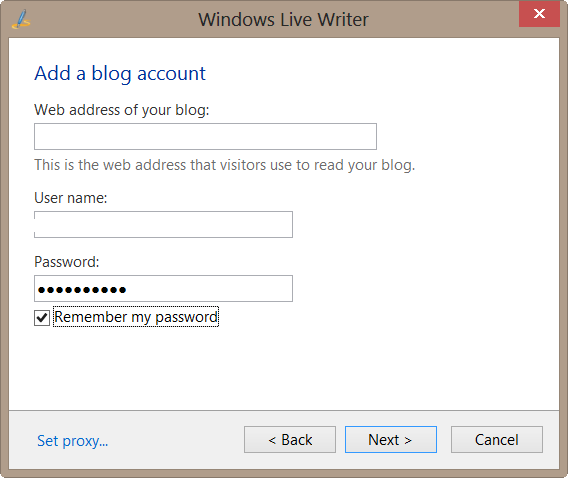
Here you provide the website details and your login credentials that will be used to interact and sync with your blog site. Click next.
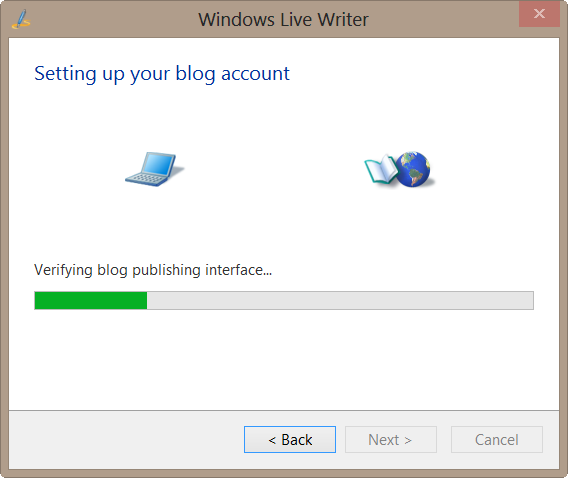
Then it will verify your blog credentials and process your request
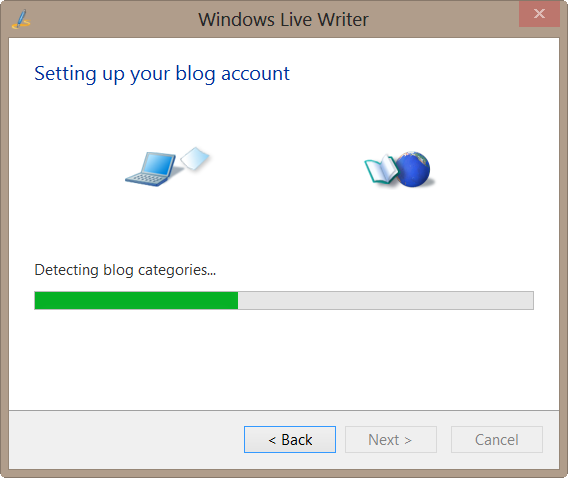
Then it will fetch all the information from your blog, like your categories, meta data etc.
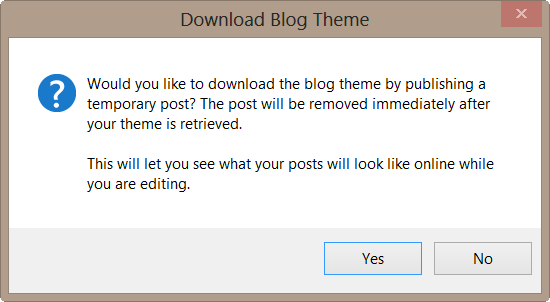
It will prompt your to download the theme information that is used on your blog, so that you can see the post with your theme applied while editing. Click Yes.
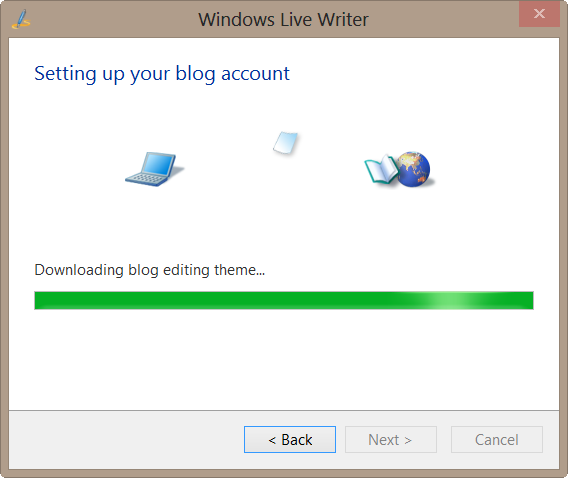
Then it will download the blog theme information and meta data related to it from your blog site.
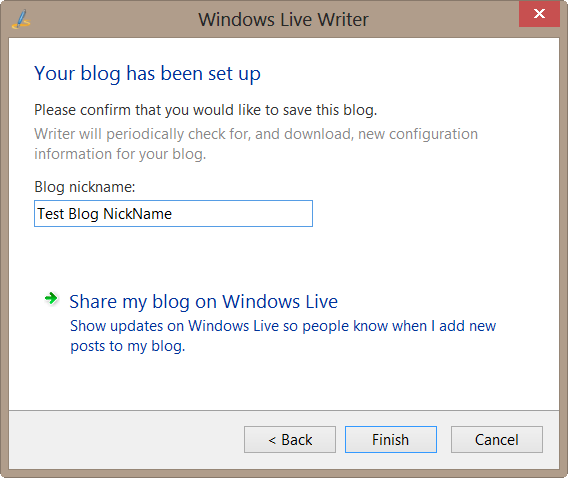
Once your blog is set up you can provide a alias name for your account. You can also share the blog on windows live. Once done Click Finish.
Once done you can see a new post open to start writing.
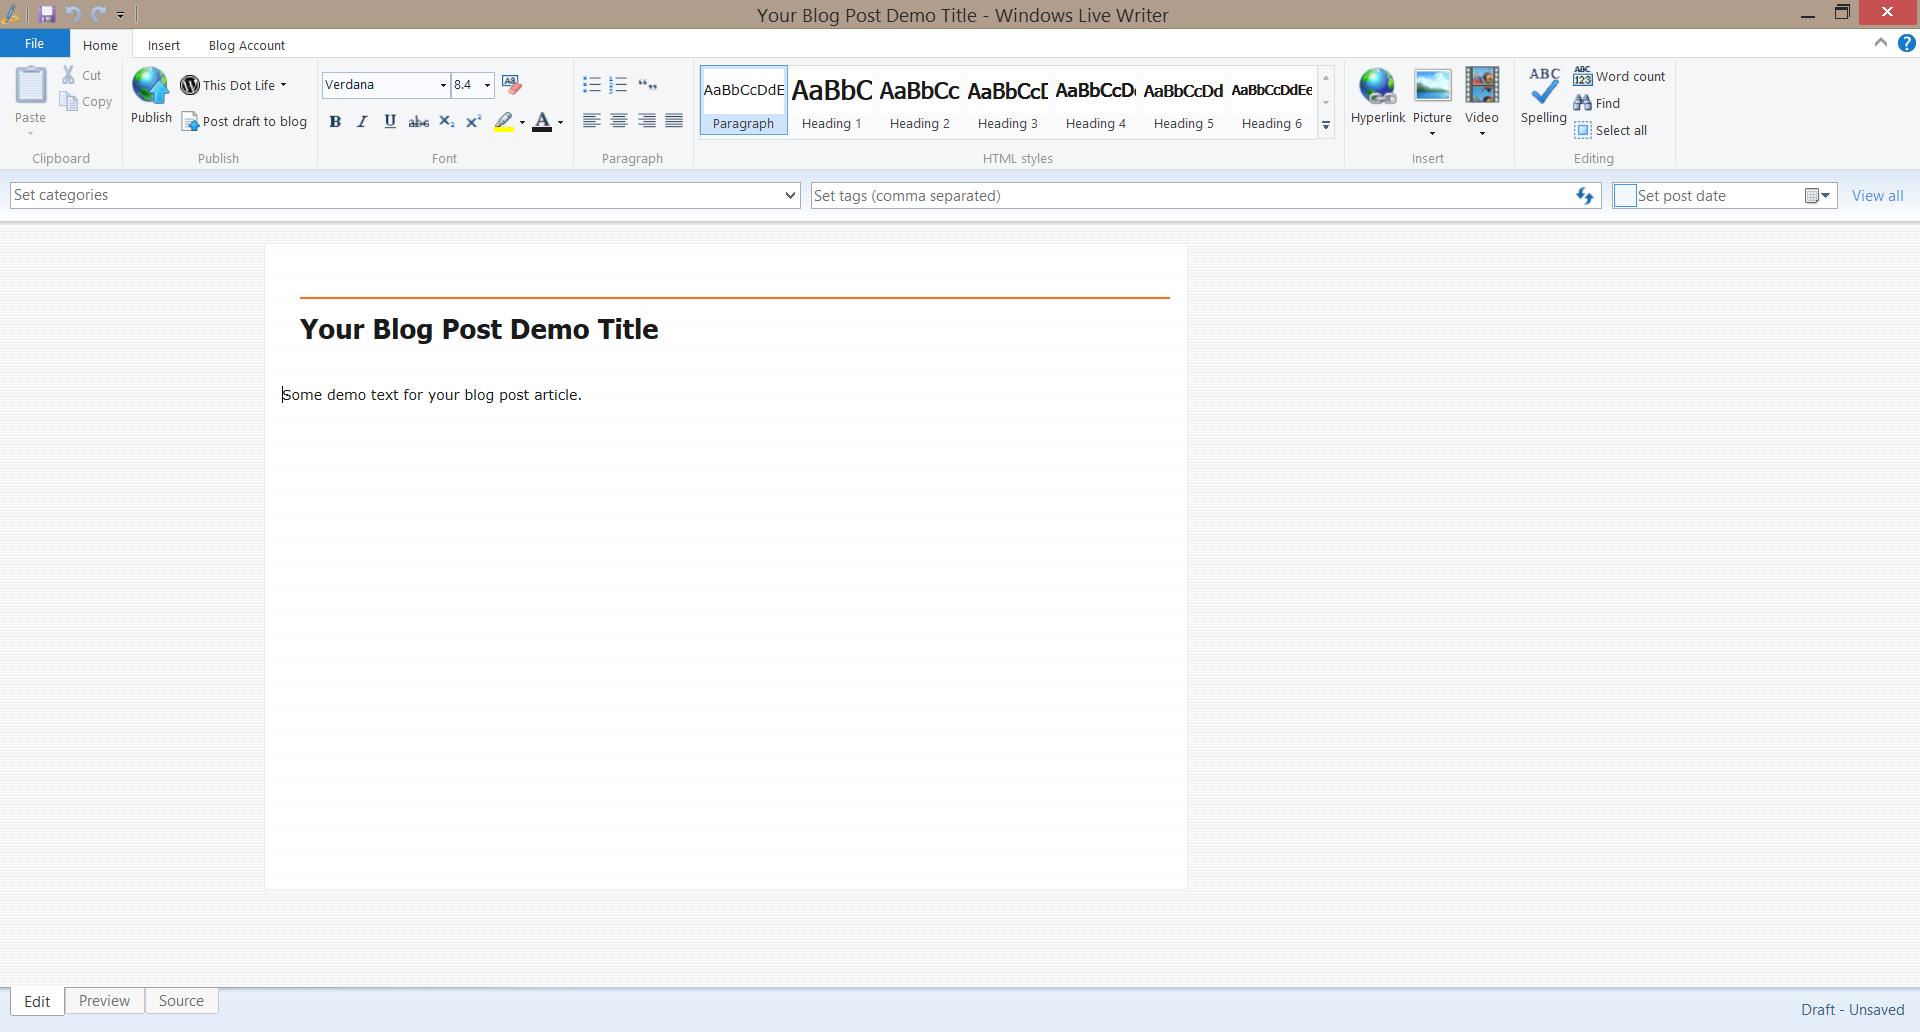
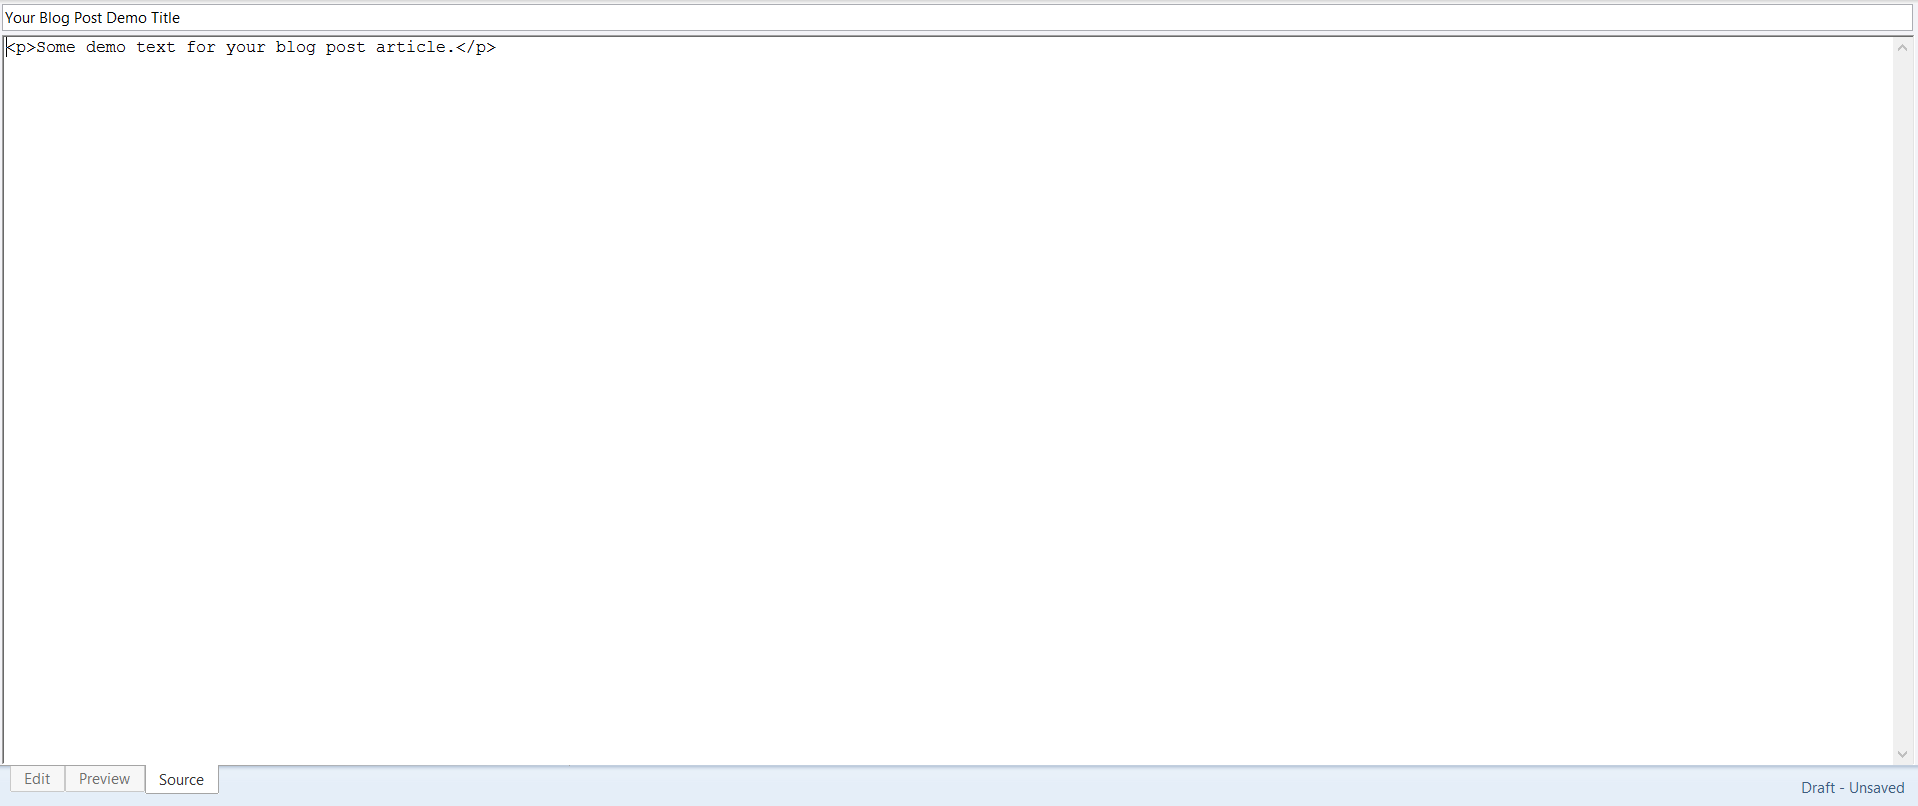
On the Left – Bottom you can see three Tabs – Edit / Preview / Source which comes very handy while writing a post.
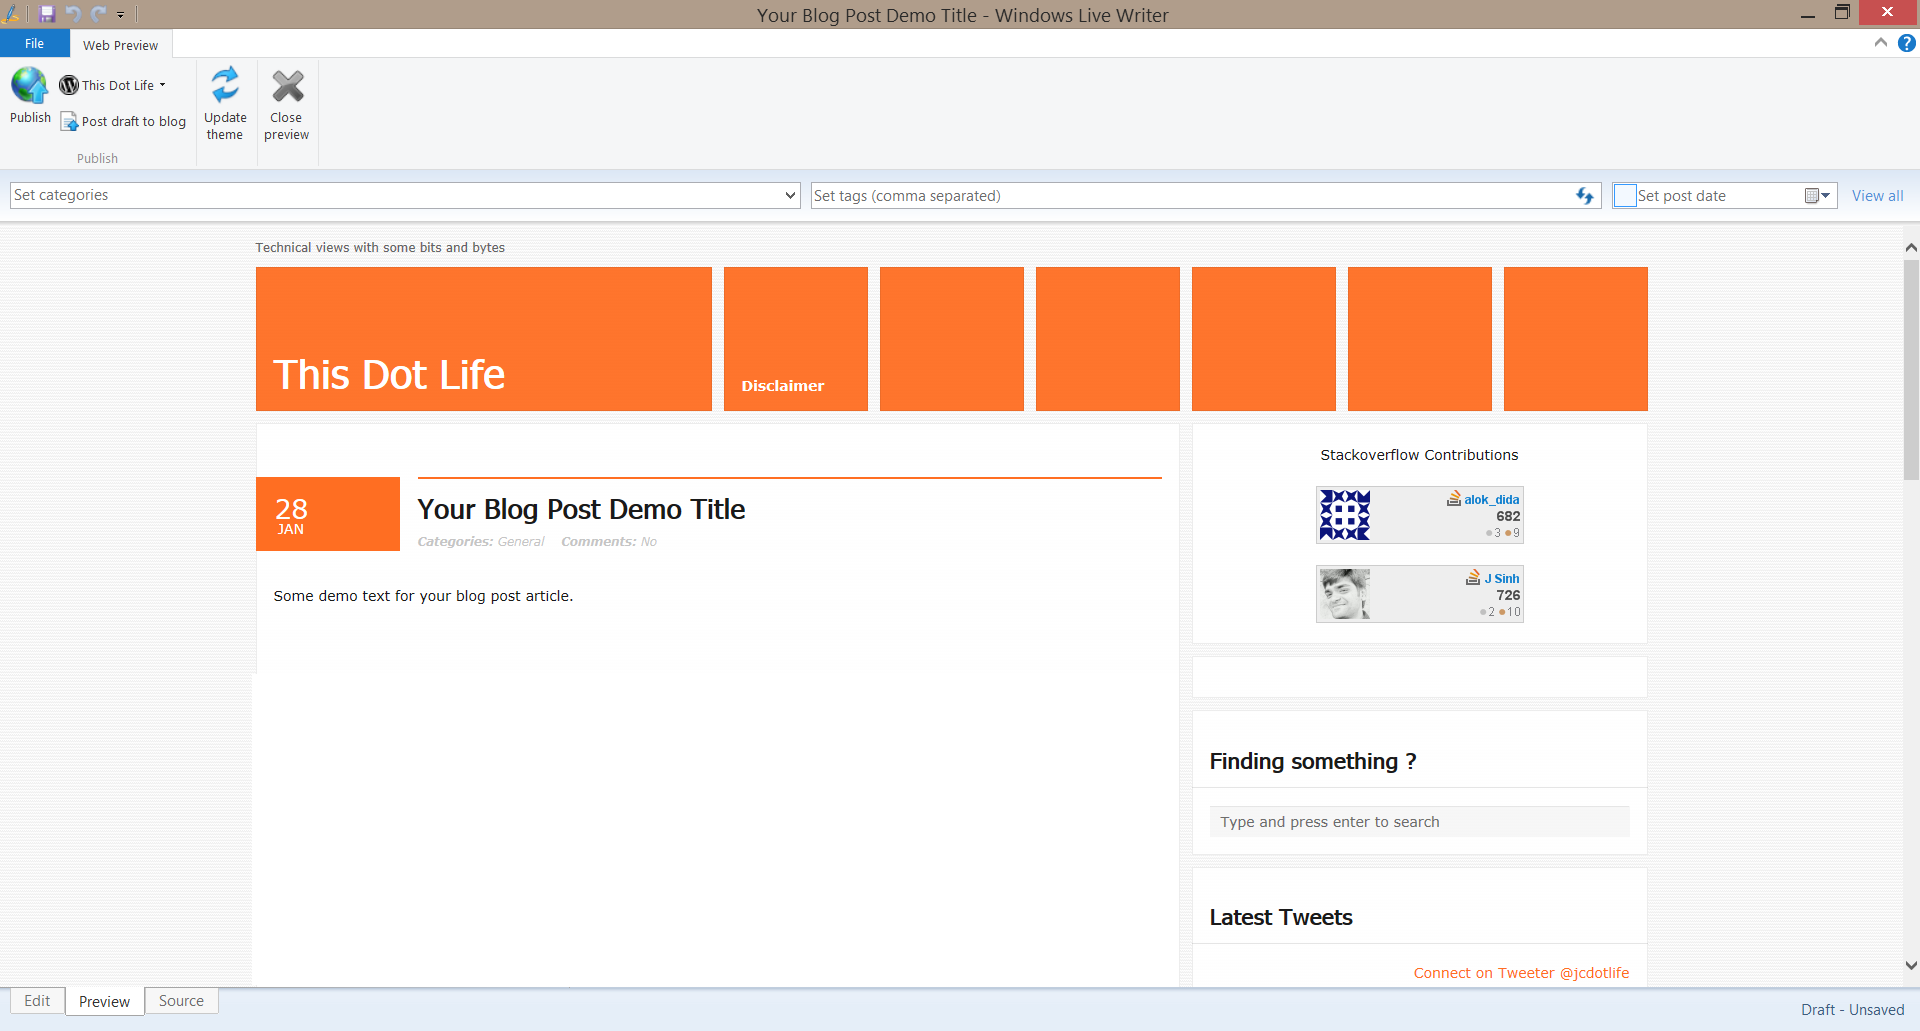
If you are good at your HTML take a shot
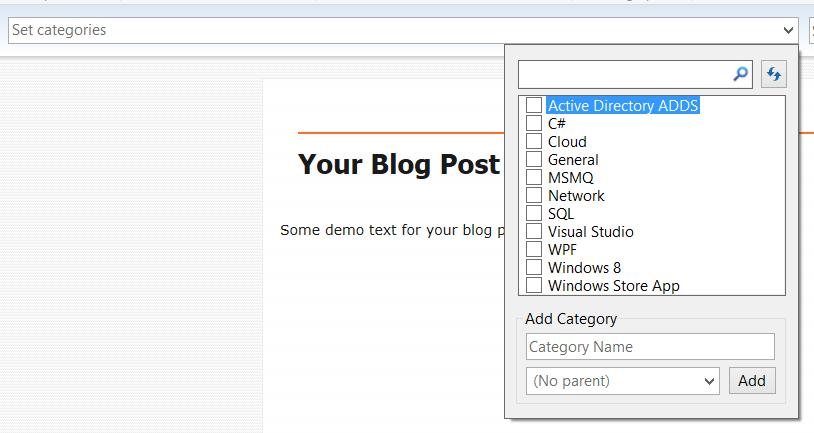
You can add your current post to any existing categories or add a new category
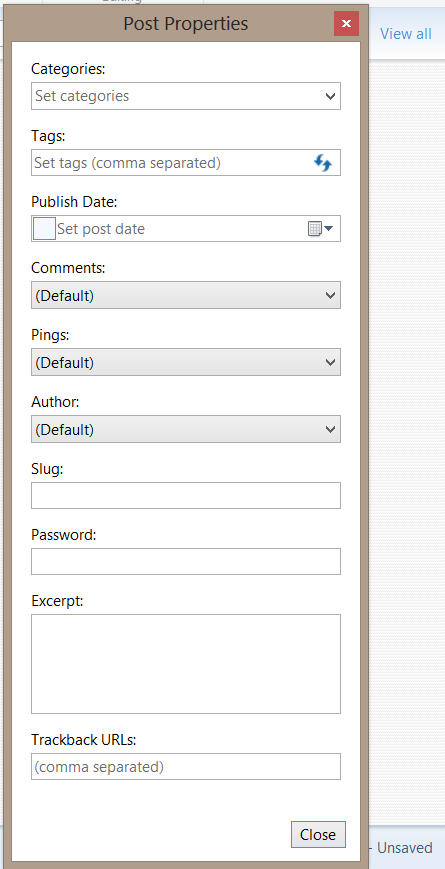
On Right side if you click “View All” you can see all the options that you can set for the blog post
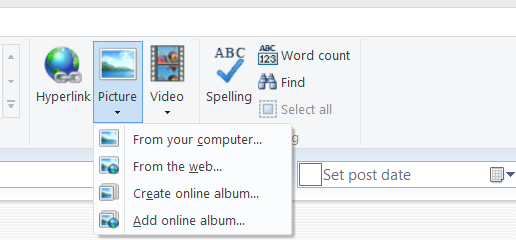
You can also add Picture / Screenshots with different options
You have publish to Post draft to blog / Publish and manage your blog account (add more than one blog accounts)

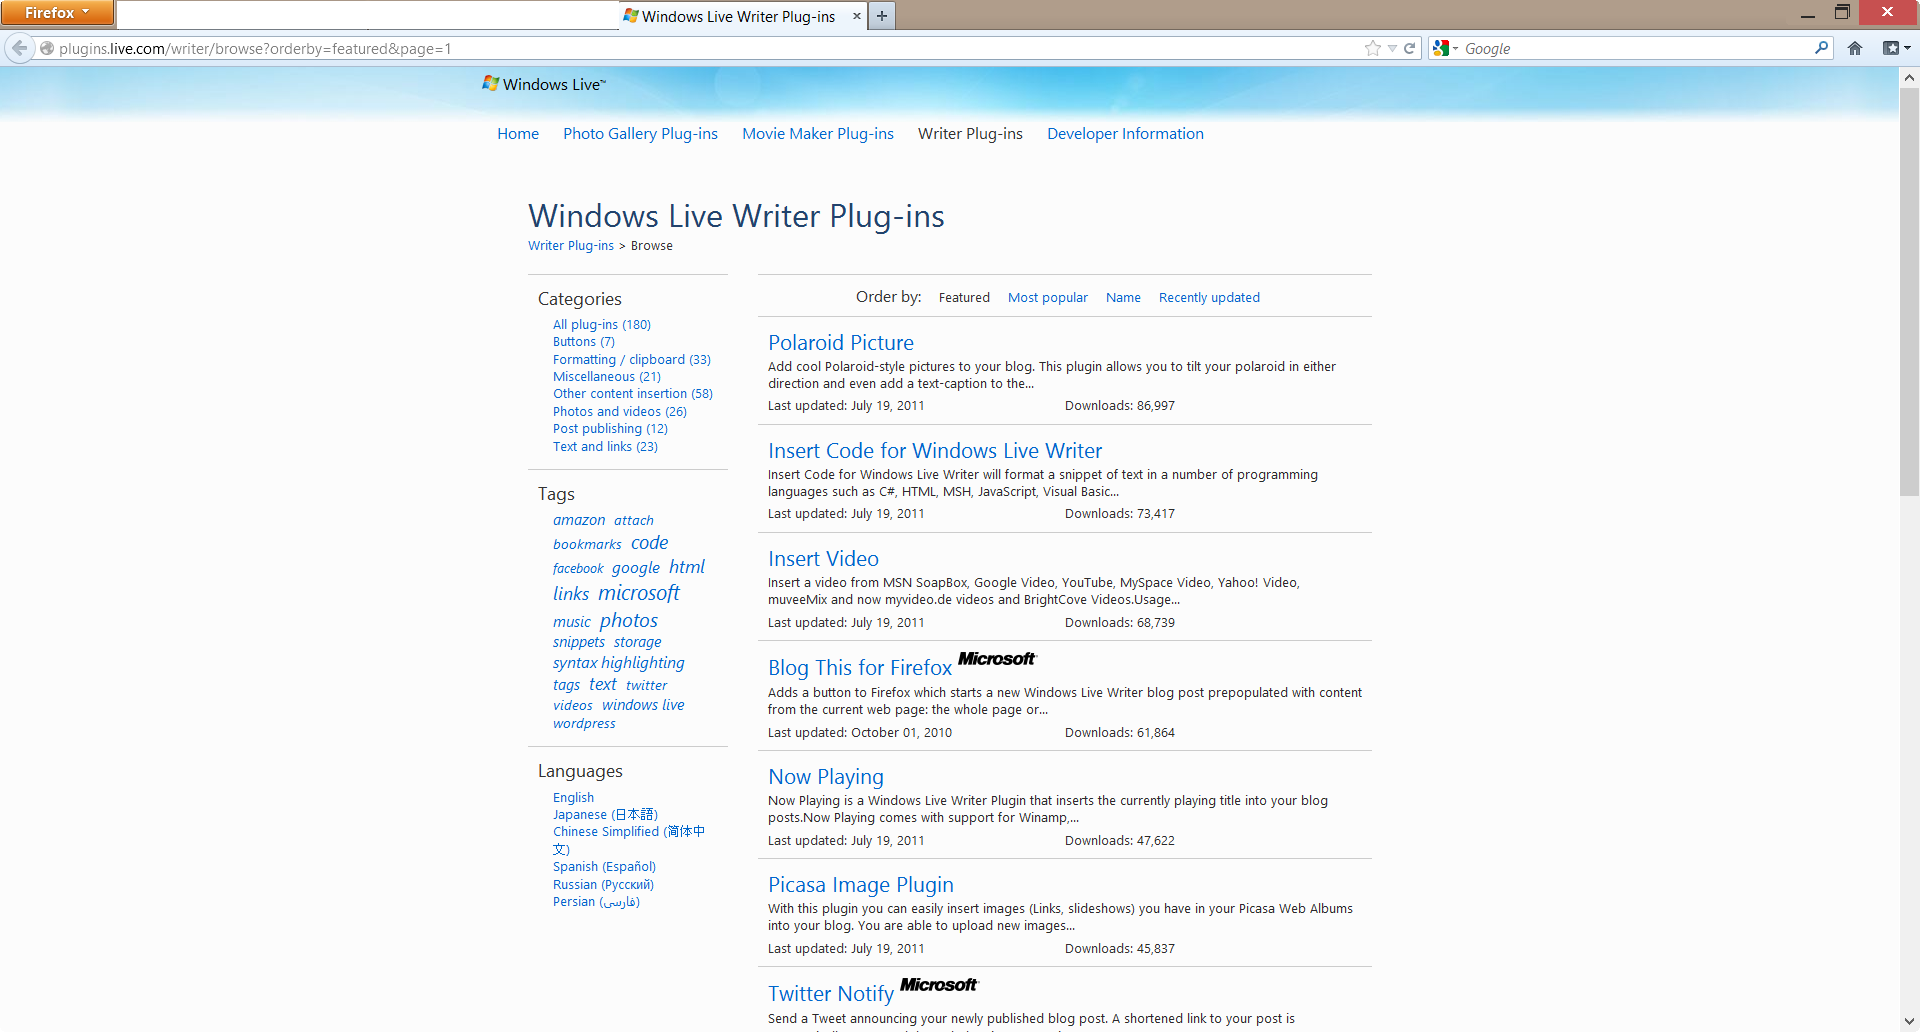
Now comes the bonus package, you can add lots of beautiful plugins to add extra power to your writing.
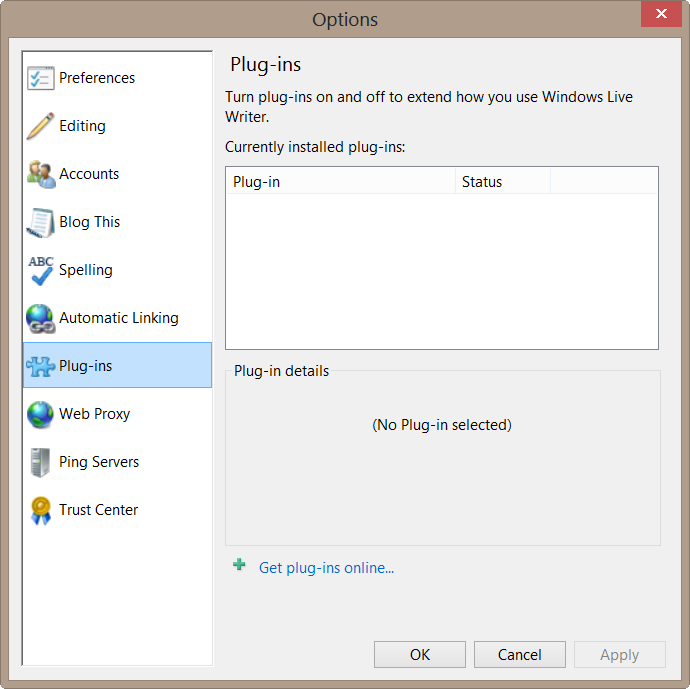
Click > Get plug-ins online to browse available plugins.
Happy blogging, share if you know or use other tools for the above purpose.