
This steps will guide you to install SQL Server 2012 Express edition, code name “Denali”. The express edition is free version of SQL Server 2012 and is available for download from Microsoft site. Download the installer and run.
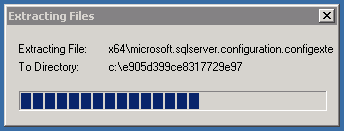
Step 1: The installer will create a temporary folder in your C drive to extract the files required by the installation.
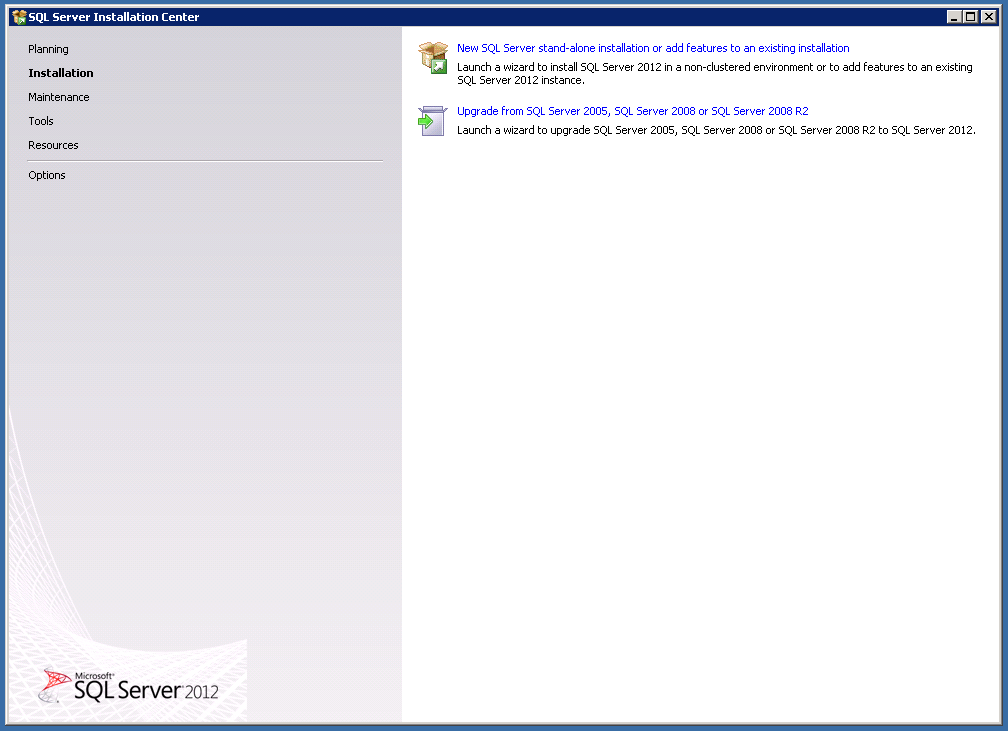
Step 2: Once the extraction is completed, you will be presented with this welcome page. On left hand side of the application contains different tab links to choose your desired installation required.
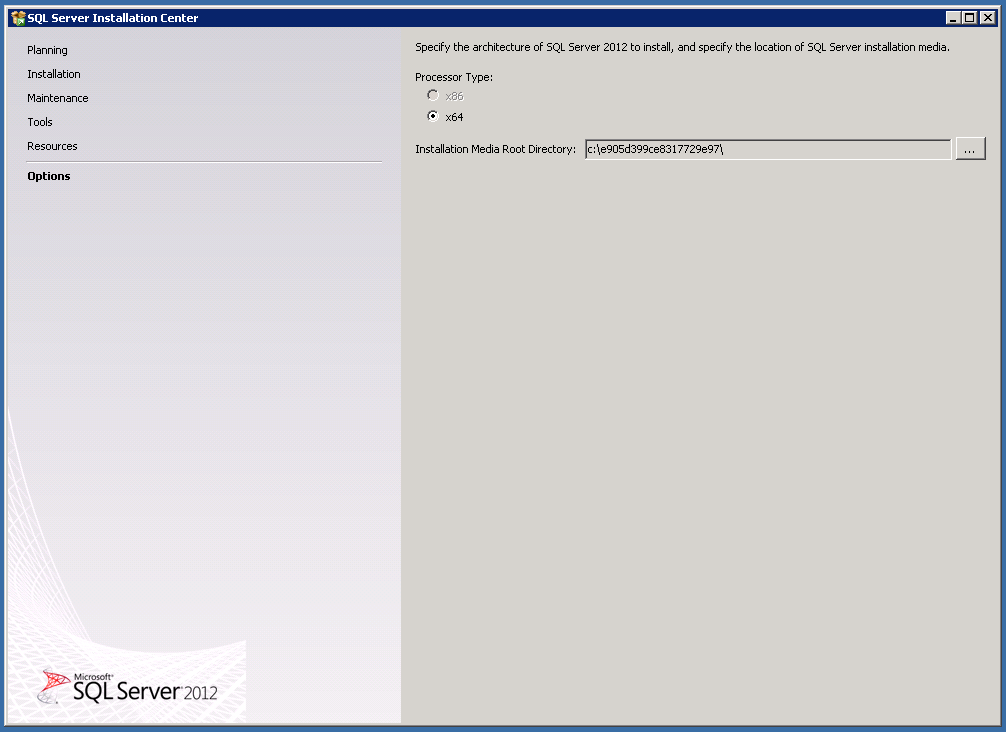
When you click on the “Options” tab link you will be able to see where the installer is located and what version x86 / x64 it is currently going to install.
As we are installing the SQL Server 2012 fresh, click on “New SQL Server stand-alone installation and add features to an existing installation”, this will start configuring the process for chosen setup type.
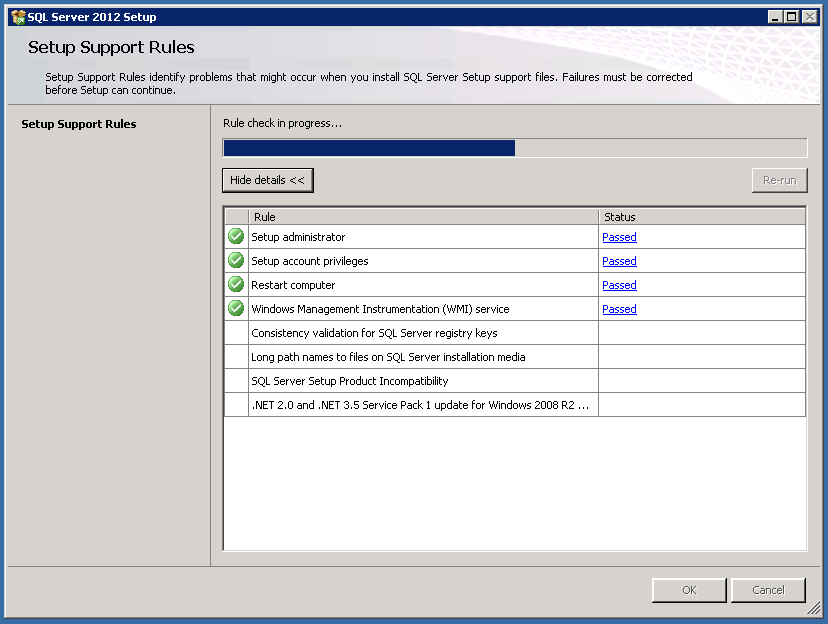
Step 3: Ones done, it will check for some rule set to identify problems that may occur while installing SQL Server 2012. If your system satisfies all the checks, it will show PASSED for each of them, if any problem is detected it will turn into WARNING and will show details of the issue and how to solve it when you click on the link. Once all the checks are passed click ok.
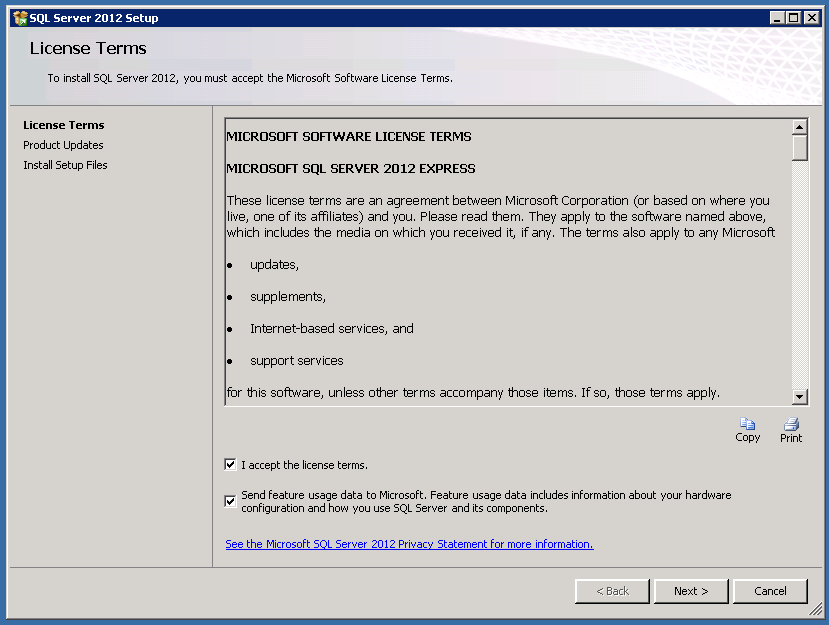
Step 4: This steps presents you the License terms for the product, read and check “I accept the license terms” and if you wish to send the product usage information to Microsoft for their production improvement purpose, check “Send feature usage data to Microsoft” and click next.
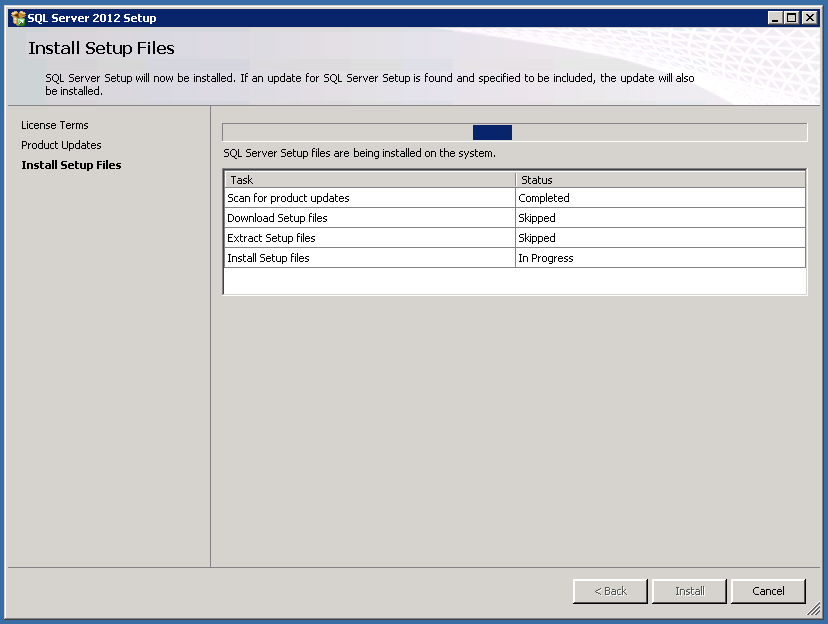
Step 5: Next step will install the SQL Server setup first to your system so that the same can be re-run again to make changes to existing installation or to install addition features, click install.
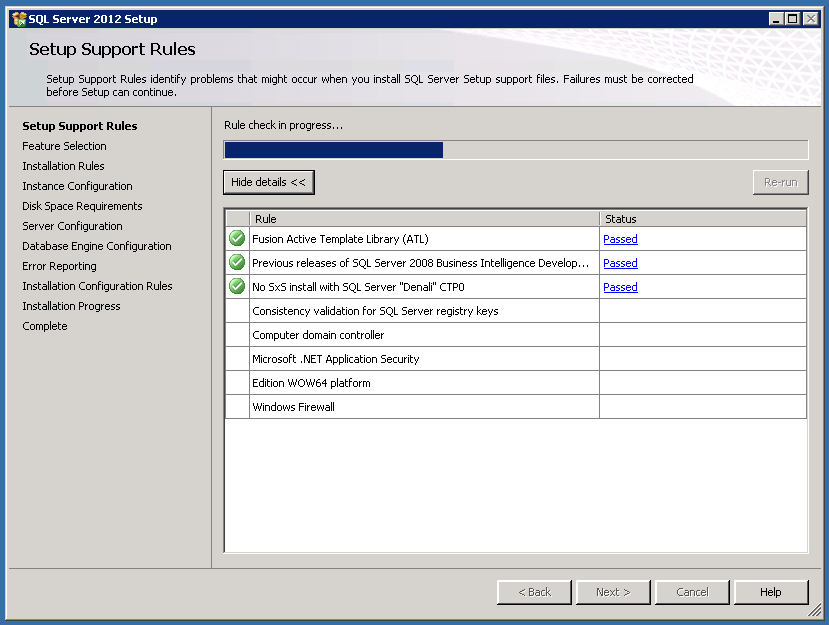
Step 6: When SQL Server Setup installed, it will automatically start checking for further rule sets to make sure SQL Server installs correctly.
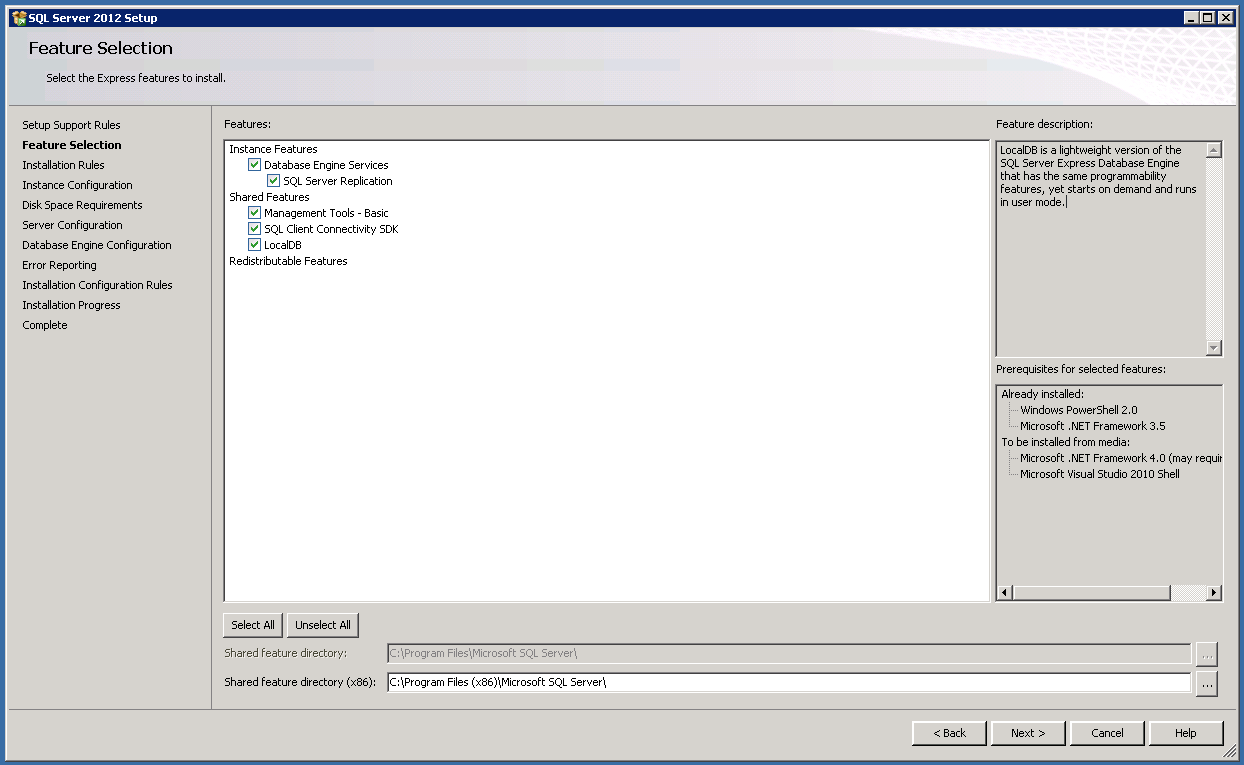
Step 7: This step will present you with the options to chose what features you wish to install using current setup.
The right side pane shows the prerequisites required for the selected features installed, they are already installed on my machine.
Under Instance feature – you don’t have much choice as you are installing SQL Server express edition, it have SQL Server Replication as sub options, check if you wish to install.
Under Shared features, you can chose “Management tools – Basic (version), SQL Client connectivity SDK and LocalDB. LocalDB is new feature in SQL Server 2012. Down shows where the shared features will installed. Click next.
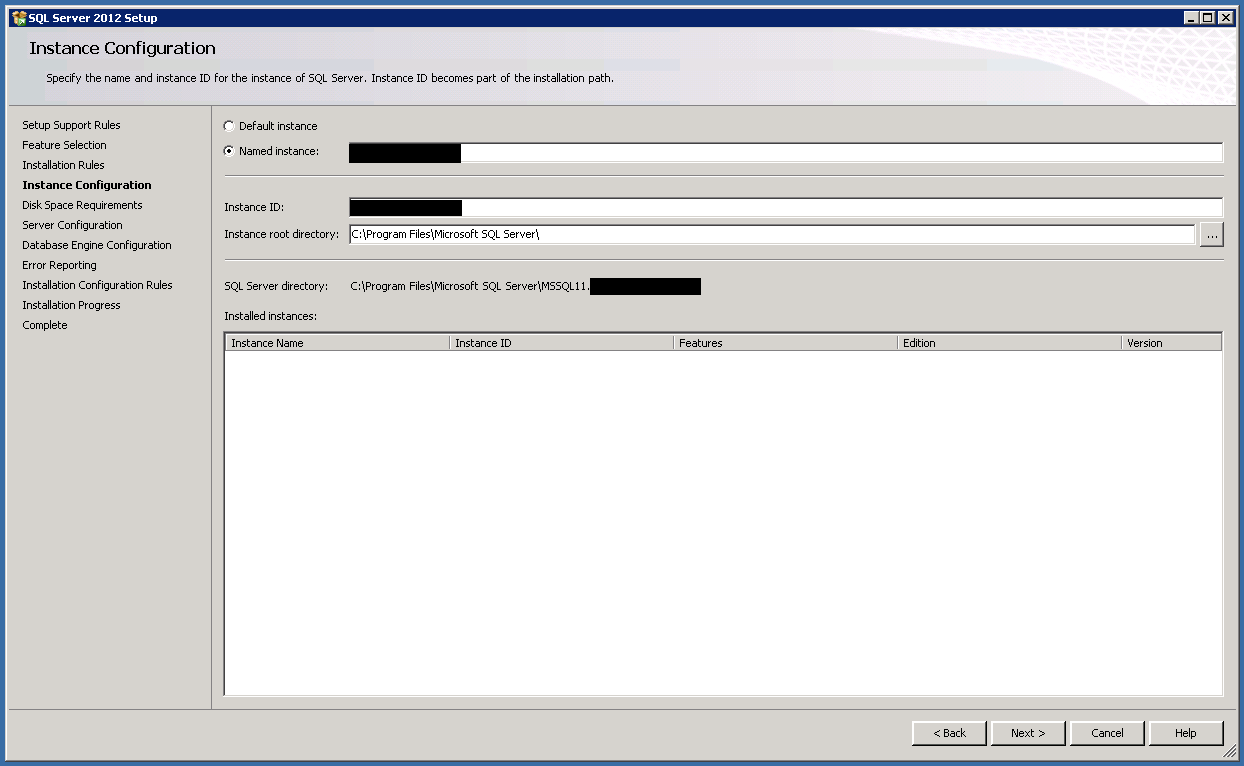
Step 8: On this page you define the details for the SQL Server Instance getting installed, conceptually, a single installation of SQL Server can have more than one instance of SQL Server.
Instance is the main unit of SQL which contains all your database, tables, schemas etc. If you select the default instance you can reference the instance directly by your Machine name. If you want to give an explicit name to your instance chose “Named instance” and type in the name of the desired instance.
The Instance ID and Instance root directory gets automatically filled as you type in the instance name. By default it remains the same as your instance name, you can change it if you want to define another location to install your instance. Click next.
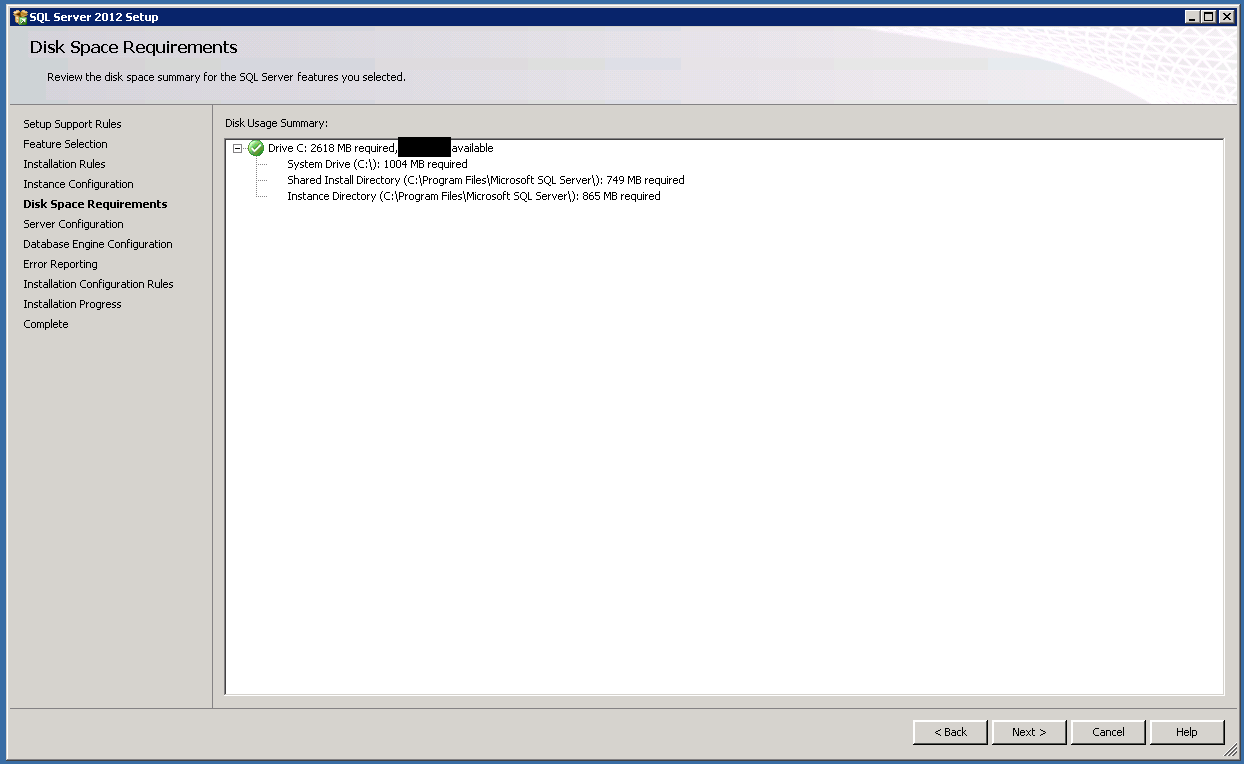
Step 9: Next you see the summary of paths where the files for different thing of SQL server will be installed and the required space and available space. Click next.
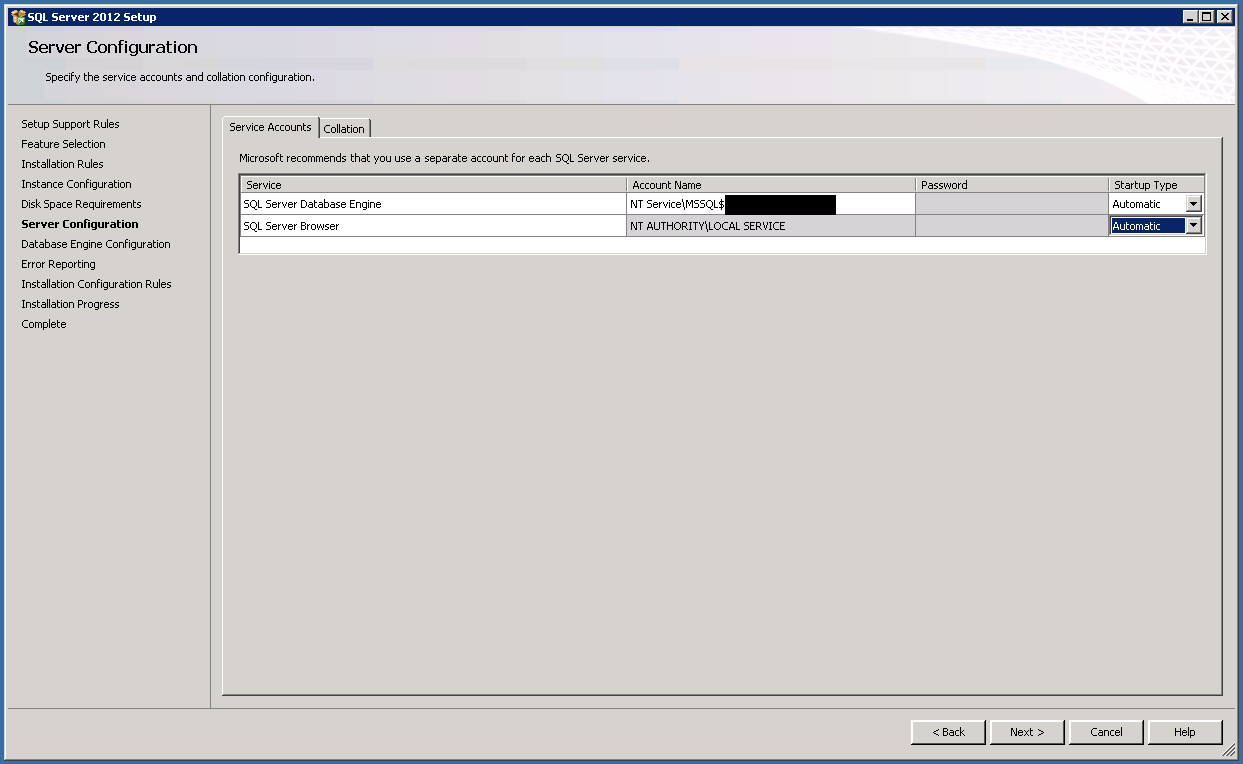
Step 10: Here you can configure the account (user) used to mange the SQL server service, the main service “Engine” and “Browser” server. It will show the default user account it will use and create if does not exists. You can also set the startup type as “Automatic”, “Disabled”, “Manual” for each service. Other tabs allows you to select the Collation for the instance getting installed.
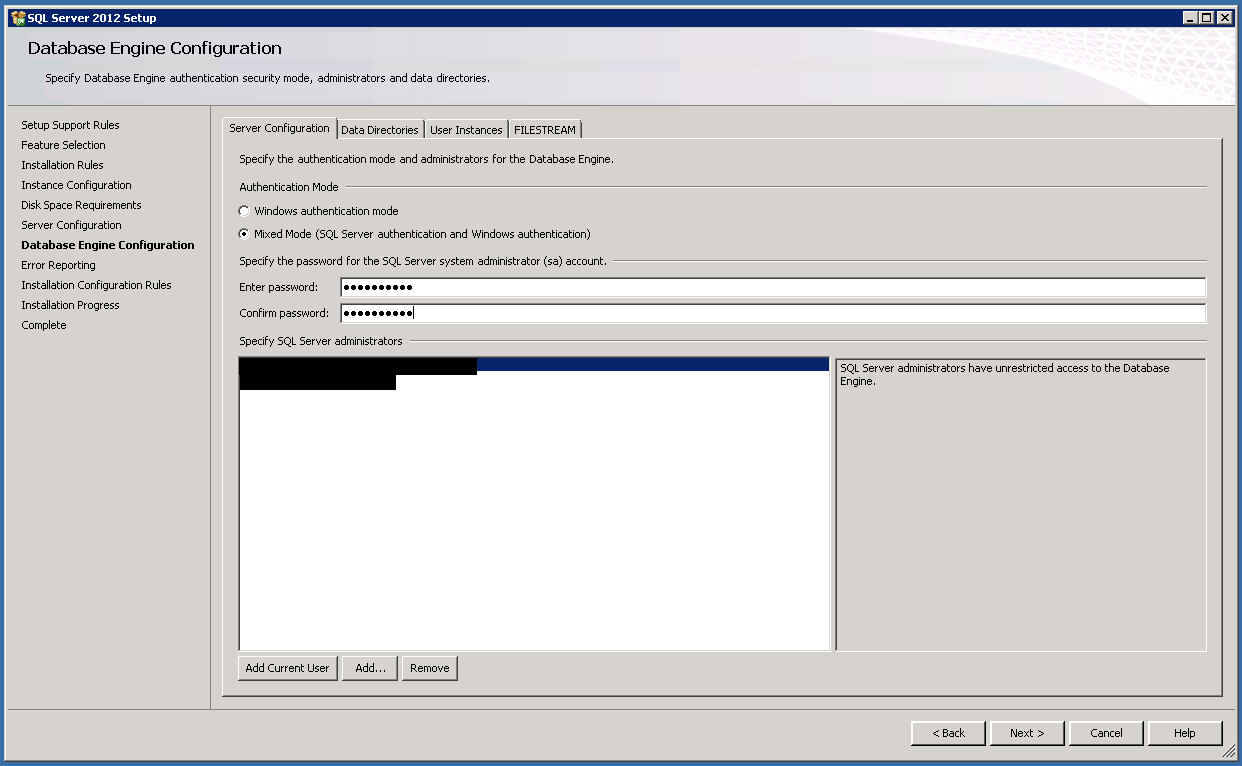
Step 11: SQL Server can be accessed and operate in two types of authentication mode, Windows authentication or Mixed Mode authentication.
Windows authentication only allows the machine (workgroup mode) users or domain users (domain mode) to login to SQL server and access it.
Mix mode authentication allows the above way of authentication, plus ability to create custom users (in SQL) to access the SQL service. This users are not related or created in the machines / domains user or groups.
It is maintained and created in SQL server itself and can be managed from inside. If you choose Mixed mode, you have to type in password for the system administrator account “SA”. SA is the default system administrator account used to manage SQL server. You can change setting related to this account later on by login in the SQL server.
You can also add more users by “add” or remove the one added in the list. clicking Add current user will added the user by which you are logged in to the list of system administrator. Click next.
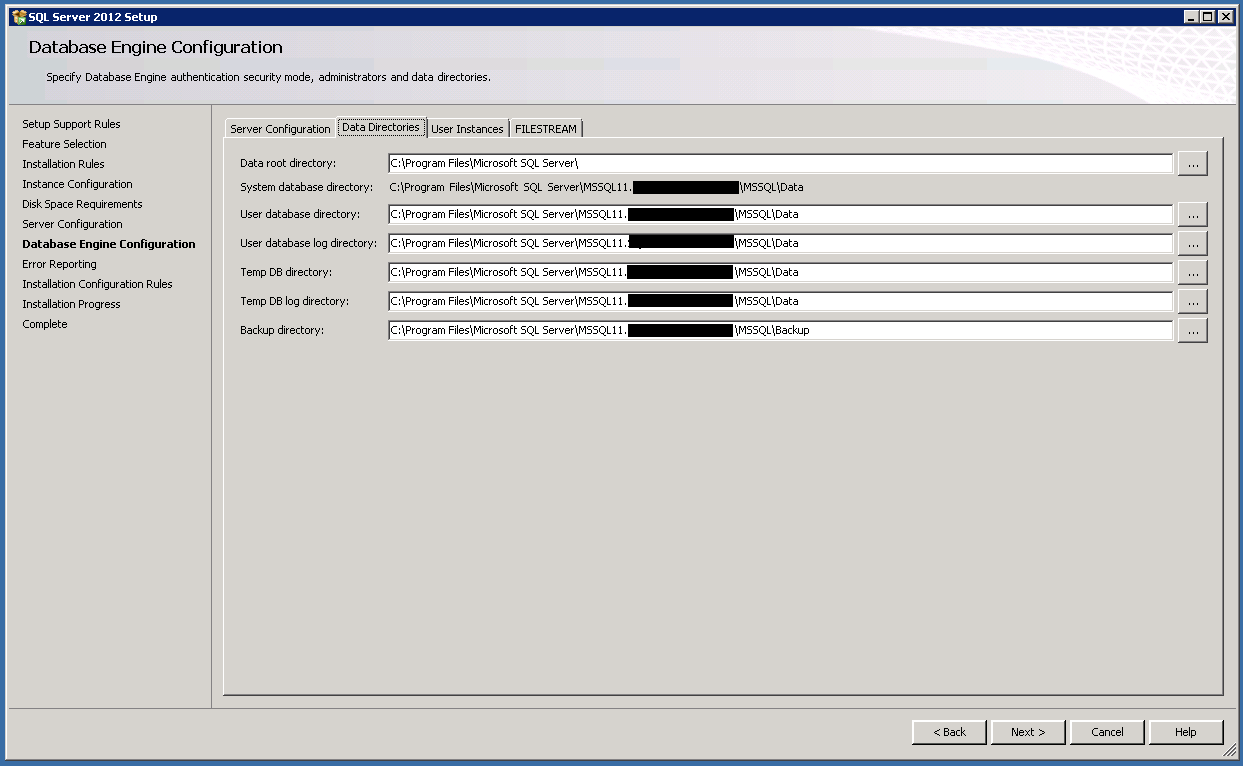
On “Data directory” tab you can set the directory path for different type of files of SQL server.
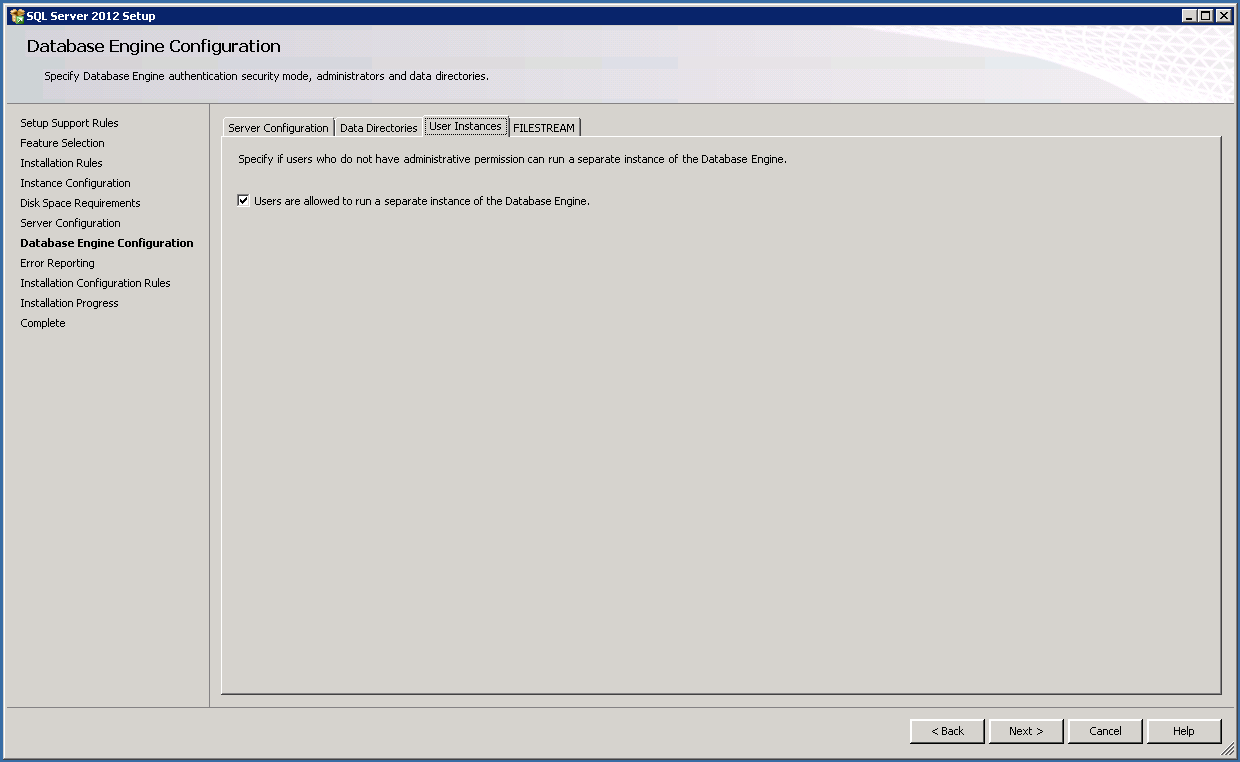
On “User Instances” tab you can enable the permission to run a separate instance of Database engine, it is more related to LocalDB, check it if you wish to allows following feature.
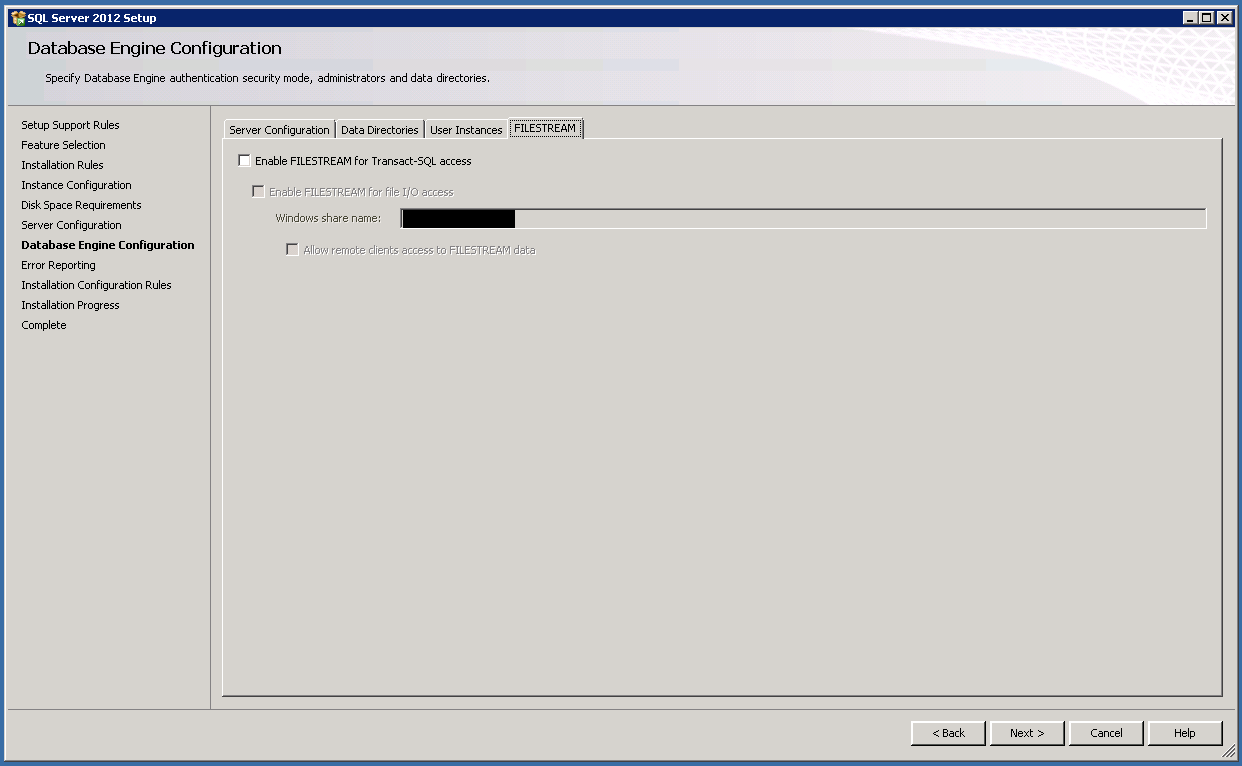
On “FILESTREAM” you can enable / disable and configure the FILESTREAM related setting for this server instance.
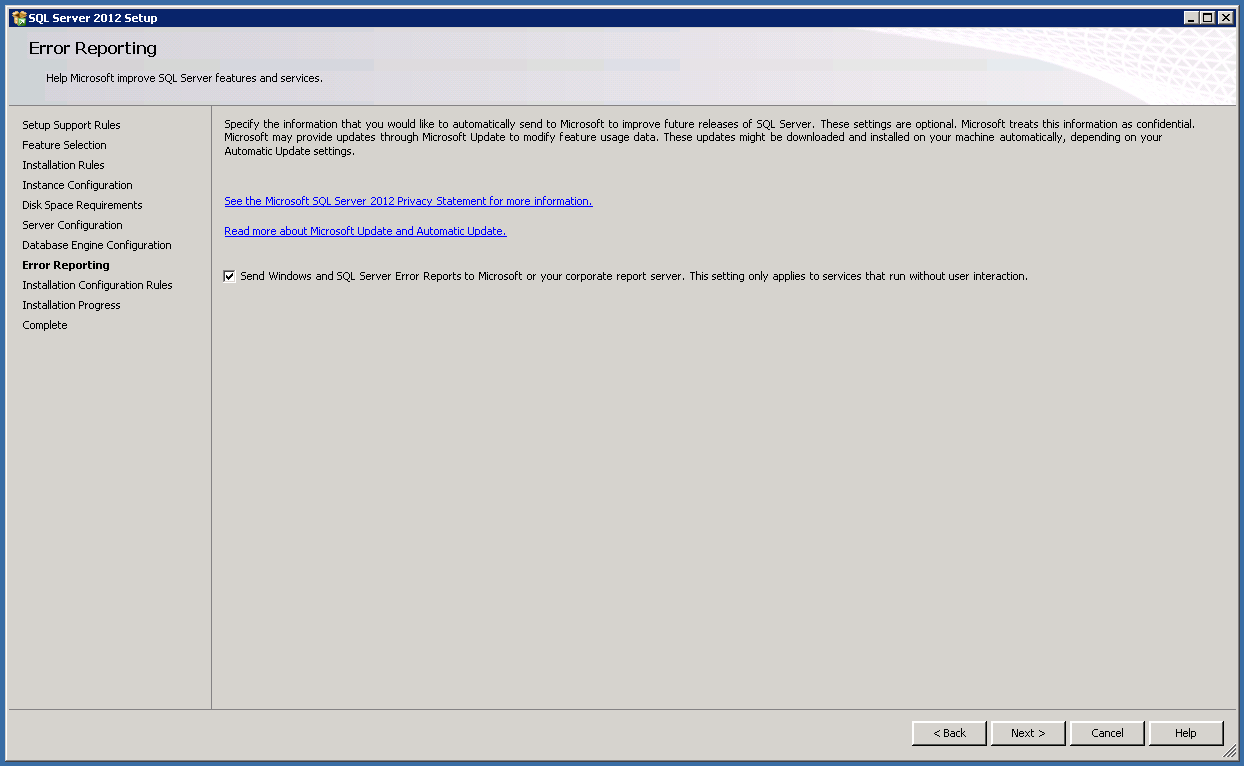
Step 12: Check the option if you wish to help Microsoft and SQL server error reports to improve the product capabilities. Click next.
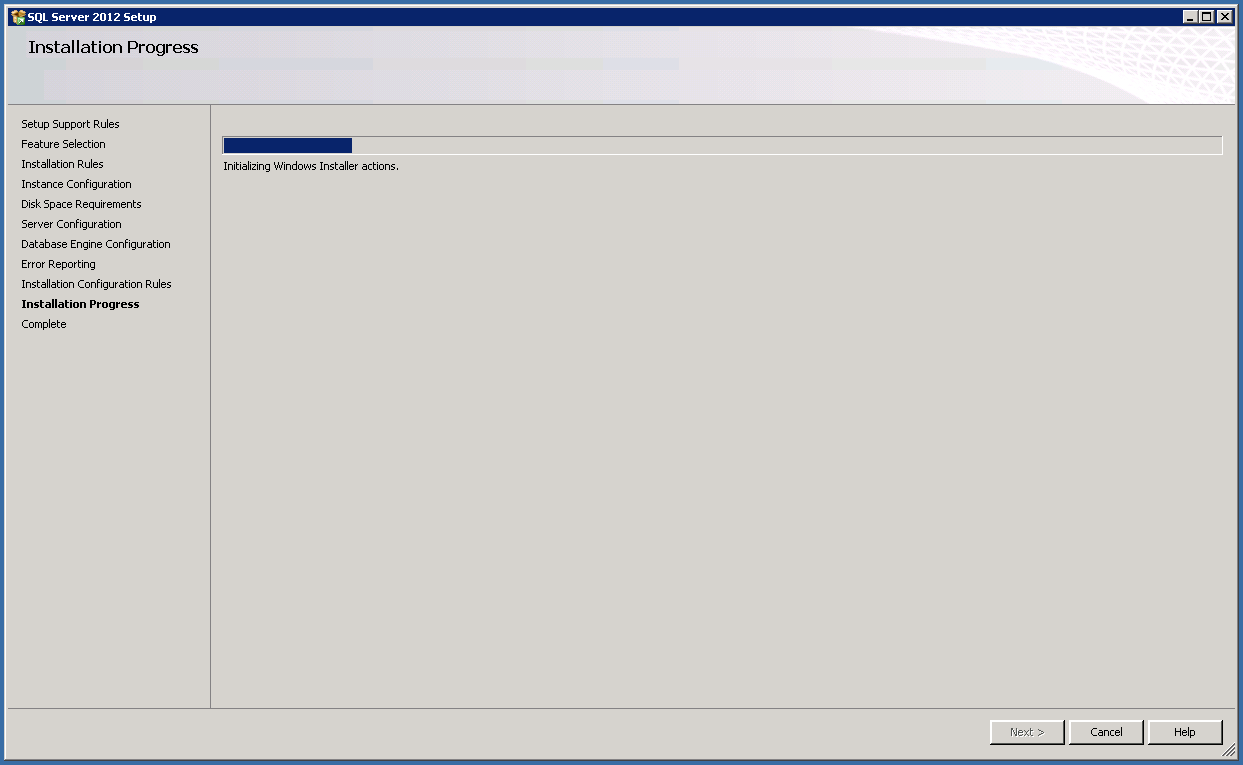
Step 13: It starts installing the SQL Server, please wait while it completes the installation process. Once done "Next” will be enabled, click it.
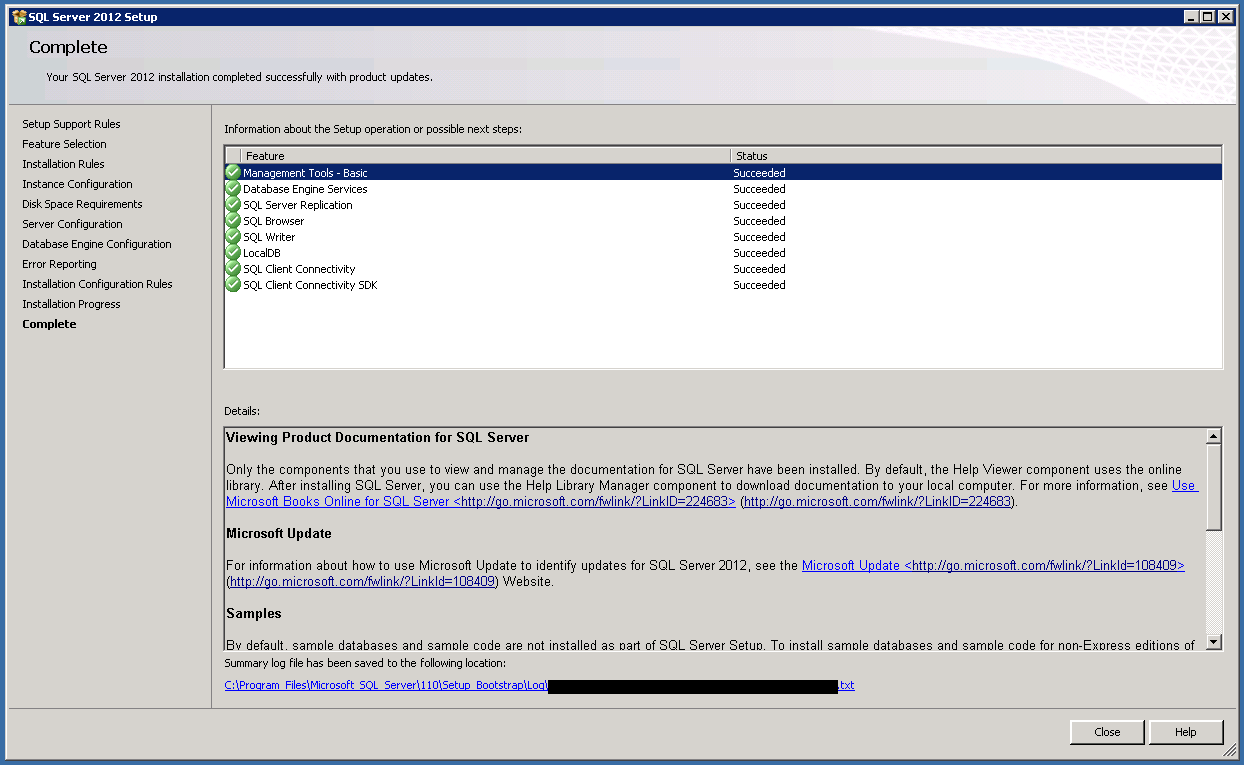
Step 14: Next page takes you to the summary of the installation process and shows the list of features installed and status of its installation. It also shows some link for you to start up getting familiar with the product. Click close.
Microsoft is always very popular with the IDE it provides for the line of products and framework it offers for rapid application development. One of the best example of it would be Visual Studio IDE for .NET development. For SQL server management and develop against it you can you the powerful SQL management studio. With the release of SQL Server 2012, management studio is also powered by Visual Studio base. This new thing will make the SQL develops more powers like the one .NET developers have using Visual studio. I would leave the rest for you to explore.
Note: This step by step installation guide holds true for SQL Server 2012 Express only. This same procedure may or may not work identically for other version of SQL SERVER.